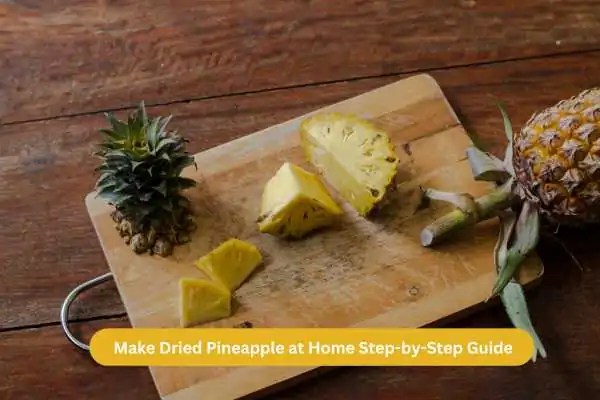
Dried pineapple is a delightful and healthy snack: sweet, chewy, and far more natural than many store-bought versions. If you live in the UK and want to preserve a taste of the tropics in your own kitchen, making your own dried pineapple is easier than you might think. Below is a complete, step-by-step guide to creating your own batch, plus tips on choosing fruit, preparing slices, drying them properly, and storing them safely.

Why Dry Pineapple at Home?
-
No preservatives or added sugar — just pure fruit.
-
Better flavour and control — you decide how chewy or crisp it becomes.
-
Longer shelf life — properly dried pineapple can last for months.
-
Great as a snack — ideal for lunchboxes, hiking, or a sweet fix.
What You’ll Need (Equipment & Ingredients)
| Item | Purpose |
|---|---|
| Ripe pineapple(s) | Your fruit — choose sweet, fragrant ones |
| Sharp knife & cutting board | For peeling and slicing |
| Apple corer (optional) | Useful for making rings |
| Dehydrator or oven | To remove moisture evenly |
| Parchment paper or mesh trays | Prevent sticking & airflow |
| Airtight containers / vacuum-seal bags | For storage |
If you have a food dehydrator, that’s ideal. But you can also use an oven set to its lowest temperature.
Step 1: Choose and Prepare the Pineapple
-
Select ripe pineapple(s). Smell the base — if it’s sweet and tropical, that’s a good sign.
-
Peel & remove the skin. Cut off the top and bottom, then slice off the outer skin, removing any “eyes” (those small bumps).
-
Remove the core. You can slice into rings and use a corer in each slice, or cut quarters and simply trim away the tough centre.
-
Slice evenly. Aim for pieces of uniform thickness (about 4–6 mm or ~⅛–¼ inch). Even slices dry more uniformly. Some people prefer thinner “chips” (around 3 mm) for crispier results.
Step 2: Drying Process (Dehydrator Method)
-
Arrange your pineapple slices in a single layer on the dehydrator trays, leaving space between pieces for airflow.
-
Set the dehydrator to about 70 °C (160–158 °F) or the lowest suitable setting. Luvele UK+2SimplyCanning+2
-
Drying time will vary depending on slice thickness, juiciness, and the machine, but expect 8 to 12 hours (sometimes more). The Daily Dish+2SimplyCanning+2
-
Check periodically. The pineapple is done when it’s leathery yet pliable — no sticky or wet spots. If still sticky, continue drying. SimplyCanning+1
-
For extra evenness, you may rotate trays or flip slices about halfway through — though pineapple holds together better than very soft fruits, so flipping is optional.
Step 3: Oven Drying (if no dehydrator)
-
Preheat your oven to its lowest setting (often ~50–70 °C or ~120–160 °F).
-
Line baking trays with parchment paper.
-
Place pineapple slices flat on the trays, leaving space between them.
-
Prop the oven door open slightly (using a wooden spoon) to allow moisture to escape.
-
Bake for 5 to 8 hours or more — check every 30 minutes after 5 hours. Flip the slices if needed.
Step 4: Conditioning & Testing Moisture
After drying, allow the slices to cool completely. Then condition them:
-
Place dried slices in a large airtight jar.
-
Leave them for 1 week at room temperature.
-
Shake the jar daily and inspect for any condensation or tackiness.
-
If condensation appears, return those slices to the dehydrator/oven for a bit more drying. This helps ensure uniform dryness and prevents mold. Salt in my Coffee+2SimplyCanning+2
A rule of thumb: properly dried fruit should contain around 20% moisture at most.
Step 5: Storage & Shelf Life
-
Store your dried pineapple in airtight containers or vacuum-seal bags.
-
Keep them in a cool, dark place, away from moisture and light.
-
Under good conditions, dried pineapple can last 6 months to 1 year.
-
Always inspect before eating — if you notice odd odor, sticky texture, or mould, it’s better to discard.
Tips & Troubleshooting
-
Too chewy? Dry a bit longer — aim for firmer texture.
-
Too brittle or crunchy? Try slightly thicker slices next time or reduce drying time.
-
Sticky surface? Means there’s still residual moisture — dry further.
-
Uneven drying? Ensure slices are uniform and rotate trays if your machine has hotspots.
-
Use frozen pineapple? Yes — you can dry pineapple from frozen, though texture may darken slightly.
-
Sweetening options: Some folks lightly brush slices with lemon juice or dip in diluted honey before drying, though pure flavour is best left untouched.
Serving & Uses
Your homemade dried pineapple makes a lovely snack straight out of the jar. But you can also:
-
Rehydrate in warm water for 5–15 minutes and add to muesli or porridge. SimplyCanning
-
Chop into bits and mix into trail mix, granola, or baked goods.
-
Use as a decorative garnish or in homemade fruit mixes.
Final Thought
With the proper tools, a little patience, and a ripe pineapple, you can create a healthy, delicious snack right in your UK kitchen. The process is simple: peel, slice evenly, dry until leathery, condition, and store properly. No additives or extra sugar — just pure pineapple goodness.
If you try this and have questions (e.g. about timing in a British climate, or storage options in UK conditions), feel free to ask — I’d be happy to help you refine your method.

